There are three important steps to every successful painting project: prepping, patching, and priming. An experienced home painter will be the first to tell you that how you prepare your walls is equally as important as how you paint them. We asked the home painting experts at Merrett Home Hardware for their advice on how to prep correctly. For your next painting project, follow this how-to guide for prepping, patching, and priming:
How to Prep Your Interior Surface
Taking the time to prep your walls for paint will save you money and could be the difference between admiring a job well done or having to take a trip back to the paint store. When it comes to paint preparation, there’s no cutting corners! Preparing your interior surface will drastically improve how your finished paint project looks.
 There are a few simple steps to remember: Clean, dry, dull, patch, and prime.
Cleaning your walls prior to painting will get rid of marks that may prevent paint from adhering and/or bleeding right through a fresh coat of paint. Pro-tip: Don’t clean with standard household cleaners & chemicals! The residue they leave on your wall can cause paint failure. Use Natura Safe Prep, an environmentally-safe product that will enhance your paint’s colour.
Patch & Repair Any Imperfections
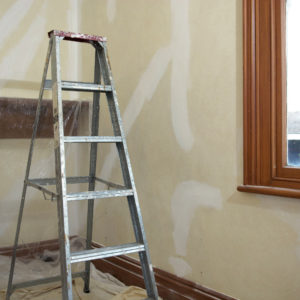
Make sure to patch nail holes or any other blemishes with one of Merrett Home Hardware’s recommended wall repair compounds. Use 80 grit sandpaper to sand and replicate the texture of drywall. It’s important to prime patched areas to achieve a professional finished look with even colour, rather than a scattered polka dot effect.
The Best Way to Prime Your Walls
A gallon of primer is much less expensive than a gallon of quality interior paint. Not only is using primer less expensive, but it will seal and protect your walls too, providing a perfect surface for your paint colour of choice. Make sure to use a primer when:

- Your paint colour requires a tinted or greyed primer to enhance coverage and spread. Pro-tip: Buy your paint and primer at the same time! The paint experts at Merrett Home Hardware will tint the primer to match your colour of choice resulting in a better finished look while using fewer coats of paint.
- If there is new drywall, the surface must be primed and sealed properly to prevent flashing on future paint projects.
- New wood requires a primer to seal the surface and prevent tannin bleed-through which could stain the top coat.
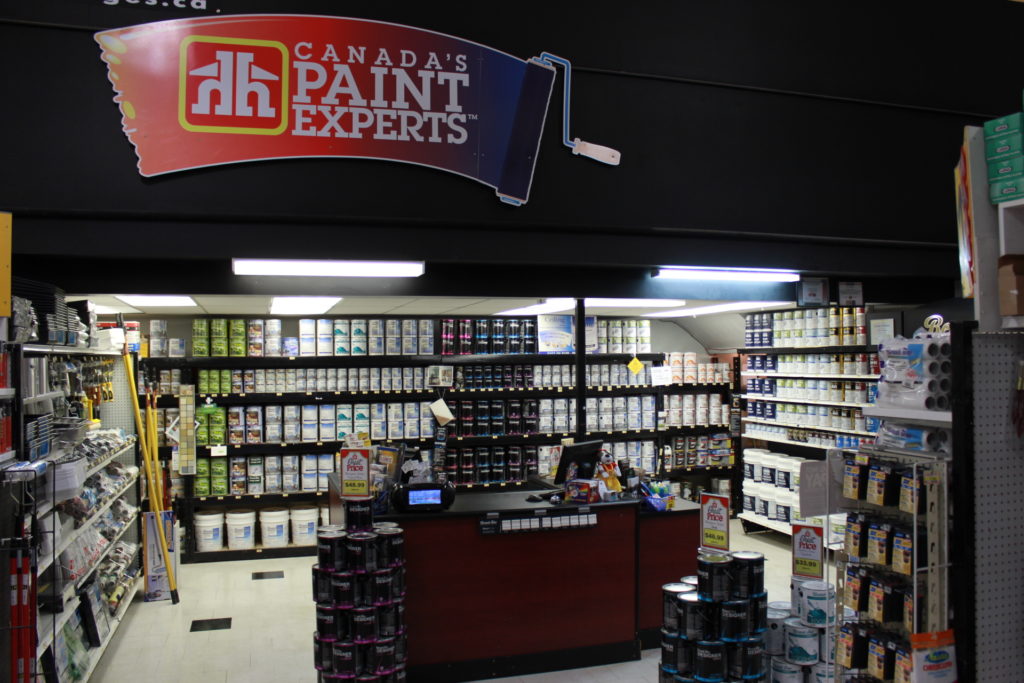
Now that you’ve taken the time to prep and prime your walls, go ahead and roll on that gorgeous new colour. With the prep work done properly the finished results will be amazing! Merrett Home Hardware is your source for quality painting products and expert advice. We carry a massive selection of brushes, rollers, paints, and primers to help transform your home.
