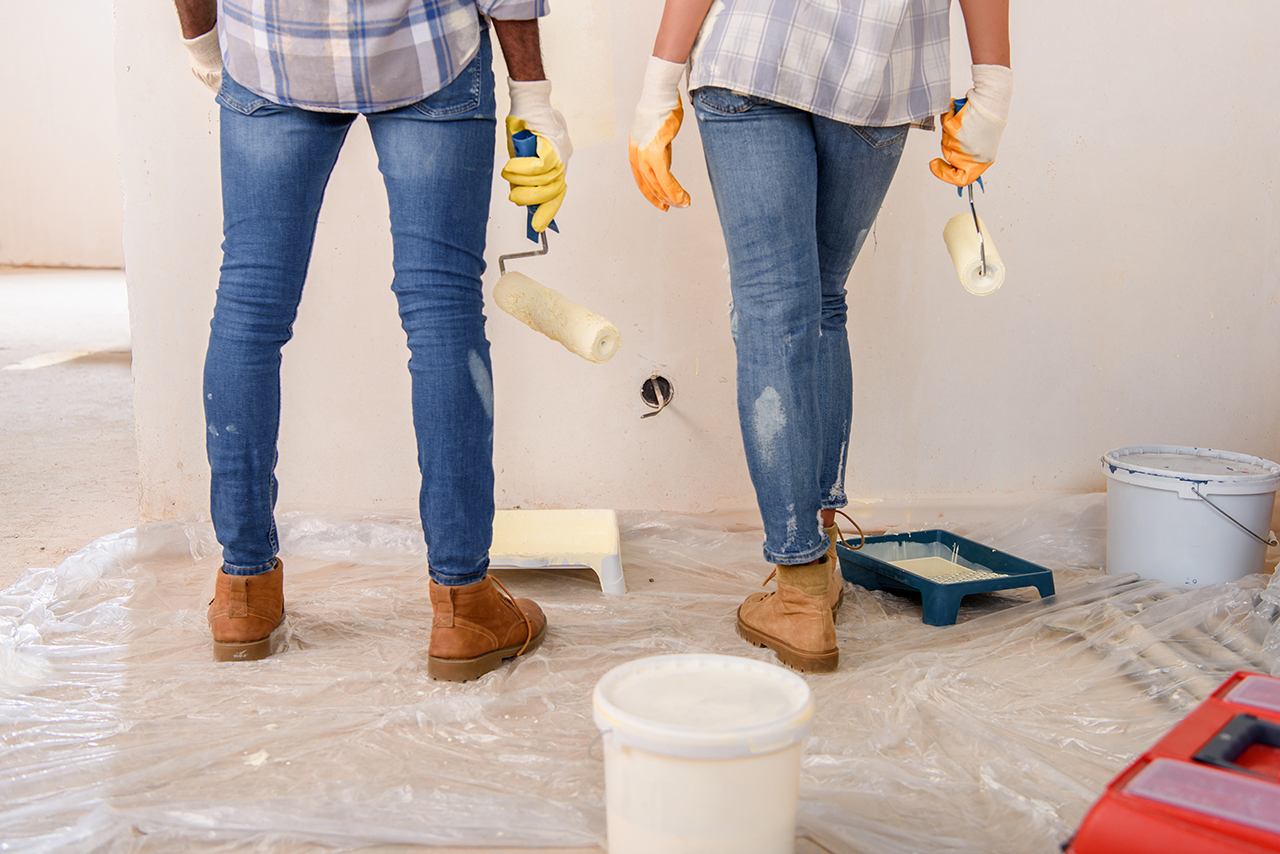
Winter is the perfect time for adding some fresh, new life into your home. There are many Do-It-Yourself projects that can be accomplished on a weekend. Interior painting leads the list as one of the most affordable ways to freshen up your world. And real estate experts would agree – it’s a great way to add resale value to an older home.
While painting can seem to be relatively simple, knowing a few tricks of the trade can make all the difference. As Peterborough’s ‘go-to’ paint experts, the staff at Merrett Home Hardware Building Centre would like to share some basic tips that will help you ‘paint like a pro’.
Do the Prep
Remember to prep your work area before you begin by cleaning and patching your walls and removing any fixtures. You can read more about prepping your rooms before you paint in our previous Blog. If you are considering revitalizing a room with a new coat of paint, use our painting calculator to help you determine how much paint you need to finish your project.

If you have patched areas or you are painting new drywall, you will need to prime the surface prior to applying your final coats. There are options for primer sealer paints, some of which are better at hiding stains and marks as well as various paint finishes including Velvet, Silk, Eggshell, Semi-Gloss, etc. – our paint department staff can help you select the right product for your application.
Start With The Ceiling
Use a paint designed for ceilings such as our Beauti-Tone Ceiling perfect, Pro 300 Professional paints, which are formulated to hide imperfections, have low splatter, faster drying times, and come in a matte or ‘flat’ finish.

Match your roller to your ceiling texture by using a low nap 10mm roller for smooth ceilings, or a 15 to 20mm nap for textured ceilings. An extension pole helps you reach the ceiling without a ladder. First, moisten the roller with a wet towel to help the paint load. Roll into the paint and then roll it off to remove excess. Start in a corner and paint in straight overlapping rows in small 4’ by 4’ sections. Roll slowly so the paint won’t leave slight roller edges on the ceiling. Once you’ve finished a couple of sections go back and lightly go over the paint with an unloaded roller to smooth it out. Then just keep going. Once it’s dry, check to see if a second coat is needed or if you missed any areas.
Next up – Your Walls

The first step is to “cut in” the edges. Using a 2”-2.5” angled brush to provide the best control. Take your brush and dip it 1” deep into your paint. Wiping off the excess before you apply the paint. In a smooth motion apply the paint to the edges of your wall. The goal of cutting is to create a border around the edges because it is difficult for a roller to get in these areas. A wet tip and steady hand will ensure a uniform border and great result. Only cut in 6-8 feet ahead so you are rolling onto wet border paint so you do not get a picture frame look when done.
Once you have created these borders you can begin painting the wall. Using a roller, come as close to the edge as possible painting over the border while it is still wet. This helps make the final result more seamless. If you are working in a large room, you may want to do one wall at a time to avoid having the border dry. Roll in an “N” pattern working toward the area of the wall you have just painted. This will give you a uniform look.
Painting Your Trim
The last step in the perfect paint job is your trim. The trim is all the moulding and window sills. After the wall has dried you should apply more painters’ tape to the wall. Again, apply the edge right up against the trim as close as possible. There are options available for trim paint – typically, we suggest using a Trim and Door paint for added durability and easy cleaning.

With a little practice, proper prep, the right products and some extra care, your room will have a fresh, new, inviting look. You can find more useful tips in our latest blog article.
The staff at Merrett Home Hardware Building Centre has helped thousands with their home makeover and painting projects. Our team has the experience to answer all of your questions.
Over the years, we’ve worked hard to build our reputation of being the helpful ‘go-to’ experts for friendly, knowledgeable advice. Come visit us soon. Merrett Home Hardware Building Centre is located at 1460 Lansdowne St., West. Peterborough.